SQUID proxy in Docker
![]()
Setup/Installation
Proxy can be launched in docker using following command :
docker compose up
In case we are using freshly installed Ubuntu, we can use following commands to update system and install all prerequisites :
sudo apt update
sudo apt upgrade -y
sudo apt install -y curl gnupg ca-certificates lsb-release apache2-utils
sudo mkdir -p /etc/apt/keyrings
curl -fsSL https://download.docker.com/linux/ubuntu/gpg | sudo gpg --dearmor -o /etc/apt/keyrings/docker.gpg
echo \
  "deb [arch=$(dpkg --print-architecture) signed-by=/etc/apt/keyrings/docker.gpg] https://download.docker.com/linux/ubuntu \
  $(lsb_release -cs) stable" | sudo tee /etc/apt/sources.list.d/docker.list > /dev/null
sudo apt update
sudo apt install -y docker-ce docker-ce-cli containerd.io docker-compose-plugin
Configuration
All setting related to proxy server can be found in app/proxy/squid.conf file. Main settings which concern us in specified file are auth_param,http_access and http_port(at the bottom of the file) :
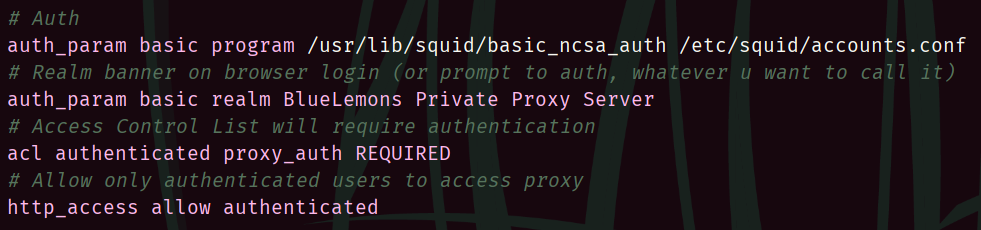
In case we change designated port, we need to edit it in docker-compose.yml file as well.
Adding new user
All credentials of allowed users are stored in app/proxy/accounts.conf file, which has username:password_in_hash format. Adding new account is pretty straightforward - we append another record at the end of this file.
In order to create hashed password, we need to use package apache2-utils, which was installed using script provided above :
htpasswd app/proxy/accounts.conf username
Example usage :

After typing desired password, we can verify our success by simply looking inside app/proxy/accounts.conf file, which will now contain one more line :

We follow up by running docker compose up, so that all setting are applied for our container as well.